Articles
Is osint.rocks closed? Free Osintly alternatives
osint.rocks says it is taking a break. Try Osintly's free username and email search previews, plus a free Google OSINT alternative to GHunt.
By OsintlyRead

A reverse email lookup becomes much more useful when it is part of a repeatable developer workflow. Instead of copying an address between browser tabs, an API can turn one input into structured evidence that your application can store, score, review, and enrich.
This guide shows how to build that workflow with the Osintly API. You will learn how to start a search, select email-specific options, retrieve results, and avoid the most common interpretation mistakes.
Use OSINT only for lawful, authorized purposes. A match is an investigative lead, not automatic proof that two accounts belong to the same person.
An email address can connect several kinds of public or authorized data. Depending on the enabled modules and options, a search may surface:
These signals should not all be treated the same way. A public profile with a source URL is different from a registration indicator, and both are different from a historical breach record. Keeping those evidence classes separate makes your product easier to explain and your conclusions easier to audit.
Osintly currently exposes more than 1,550 modules across six core search types. You can explore the live inventory in the module catalog before deciding which sources belong in your workflow.
The main search endpoint accepts a type, a value, optional search controls, and an optional webhook configuration.
curl --request POST \
  --url https://api.osint.ly/search \
  --header "Authorization: Bearer $OSINTLY_API_KEY" \
  --header "Content-Type: application/json" \
  --data '{
    "type": "Email Address",
    "value": "target@example.com",
    "options": {
      "include_breached_accounts": true,
      "include_registered_accounts": true,
      "bypass_cache": false
    }
  }'
The exact request schema and available options are documented in the search domains reference. Authentication uses a bearer token. Keep that token on your server, load it from an environment variable, and use separate keys for development and production. The authentication guide covers the required header and key-handling practices.
Do not expose your API key in browser JavaScript, public repositories, screenshots, or mobile application bundles.
A broad search is useful during exploration, but production systems usually benefit from a narrower request.
Enable both registered-account and breach options when an analyst needs the widest available context.
{
  "type": "Email Address",
  "value": "target@example.com",
  "options": {
    "include_registered_accounts": true,
    "include_breached_accounts": true
  }
}
This mode is useful for case enrichment, but it can return more data than a simple verification flow needs.
If your application only needs account-registration signals, use the email-specific registered-accounts-only option documented in the domain and options reference. This reduces noise and makes downstream handling more predictable.
Registration signals can help prioritize an investigation, but they do not prove ownership. Treat them as observations tied to a source and collection time.
For a controlled workflow, pass module UUIDs through options.modules. This is useful when you want stable output from a defined group of sources rather than the full email catalog.
For example, Osintly's published Google module has the UUID b43c7613-22e4-4ca1-bed8-7ab4f9765b61. It can enrich an email with public Google profile data, Maps contributions and reviews, public Play Games activity, and publicly shared Calendar schedules.
{
  "type": "Email Address",
  "value": "target@example.com",
  "options": {
    "modules": [
      "b43c7613-22e4-4ca1-bed8-7ab4f9765b61"
    ]
  }
}
Read Email OSINT Beyond the Inbox for a closer look at the Google-focused modules and the types of public evidence they can return.
OSINT searches can involve many external sources, so design the integration as an asynchronous job.
A practical flow looks like this:
1. Your backend validates and normalizes the email address.
2. It sends POST /search.
3. It stores the returned search identifier with your internal case or job.
4. It follows progress through Server-Sent Events, polling, or a webhook.
5. It retrieves and normalizes completed results.
6. It presents evidence with source and collection metadata.
The API introduction documents the search lifecycle and result endpoints. For live progress, use the SSE guide. For background processing, configure a signed callback using the webhook documentation.
A webhook configuration can be included in the initial request:
{
  "type": "Email Address",
  "value": "target@example.com",
  "webhook": {
    "url": "https://client.example/webhooks/osintly",
    "secret": "replace-with-a-server-side-secret"
  }
}
Verify webhook authenticity before accepting its contents, make handlers idempotent, and return quickly. Move expensive processing to a queue so retries cannot create duplicate records.
Avoid flattening every response into a single unqualified identity record. A better internal model keeps the investigative context:
type OsintObservation = {
  source: string;
  collectedAt: string;
  category:
    | "public_profile"
    | "registered_account"
    | "breach"
    | "leak"
    | "other";
  value: unknown;
  sourceUrl?: string;
  confidence?: "low" | "medium" | "high";
};
Confidence should describe the strength of the specific observation, not your certainty about a person's identity. Two accounts sharing a display name are weak evidence. A consistent username, avatar, linked profile, and matching biographical details may be stronger, but still require review.
Keep raw module responses when your retention policy allows it. They help investigators revisit a conclusion after your normalized schema changes. Review the search retention documentation before choosing storage periods.
The API uses standard HTTP responses, including:
400 for an invalid request401 for missing or invalid authentication429 when a rate limit is exceeded503 when the service is temporarily unavailableYour client should use bounded retries for temporary failures, respect rate-limit information, and never retry invalid input indefinitely. Record the search ID and request metadata so support and engineering teams can trace a failed job without logging sensitive credentials.
Plan selection affects request allowances and throughput. Check the current API pricing before setting concurrency and queue limits.
The fastest way to understand the available sources is to run a lawful test with an address you control. Start in the hosted Osintly platform, inspect the returned module cards, and note which fields your application actually needs.
Then reproduce the search through the API:
1. Create a server-side API client.
2. Run one broad email search.
3. Compare public profiles, registered accounts, breaches, and leaks separately.
4. Select only the modules and options required by your product.
5. Add SSE or a signed webhook.
6. Store source-aware observations.
7. Add analyst review before making identity claims.
This sequence keeps the first integration small while leaving room for deeper enrichment.
An account may have been recycled, mistyped, shared, or created by someone else. Corroborate across independent signals.
A breach record describes historical exposure. It does not guarantee that the account is active or that the data is still accurate.
Normalize the response, preserve sources, and explain uncertainty. Good presentation is part of responsible OSINT engineering.
Redact bearer tokens, webhook secrets, and unnecessary personal data from logs. Restrict access to stored results and define deletion rules.
Public visibility, provider availability, and regional behavior change. Your UI and data model should expect missing fields and partial module responses.
Osintly gives developers one search API for email enrichment, with module selection, registered-account checks, breach options, live progress, and webhooks. The API is useful precisely because it lets you build a controlled workflow around the evidence instead of relying on manual lookups.
Explore the API documentation, browse the email modules, compare API plans, and test a search in the hosted platform.
Articles
osint.rocks says it is taking a break. Try Osintly's free username and email search previews, plus a free Google OSINT alternative to GHunt.
Articles
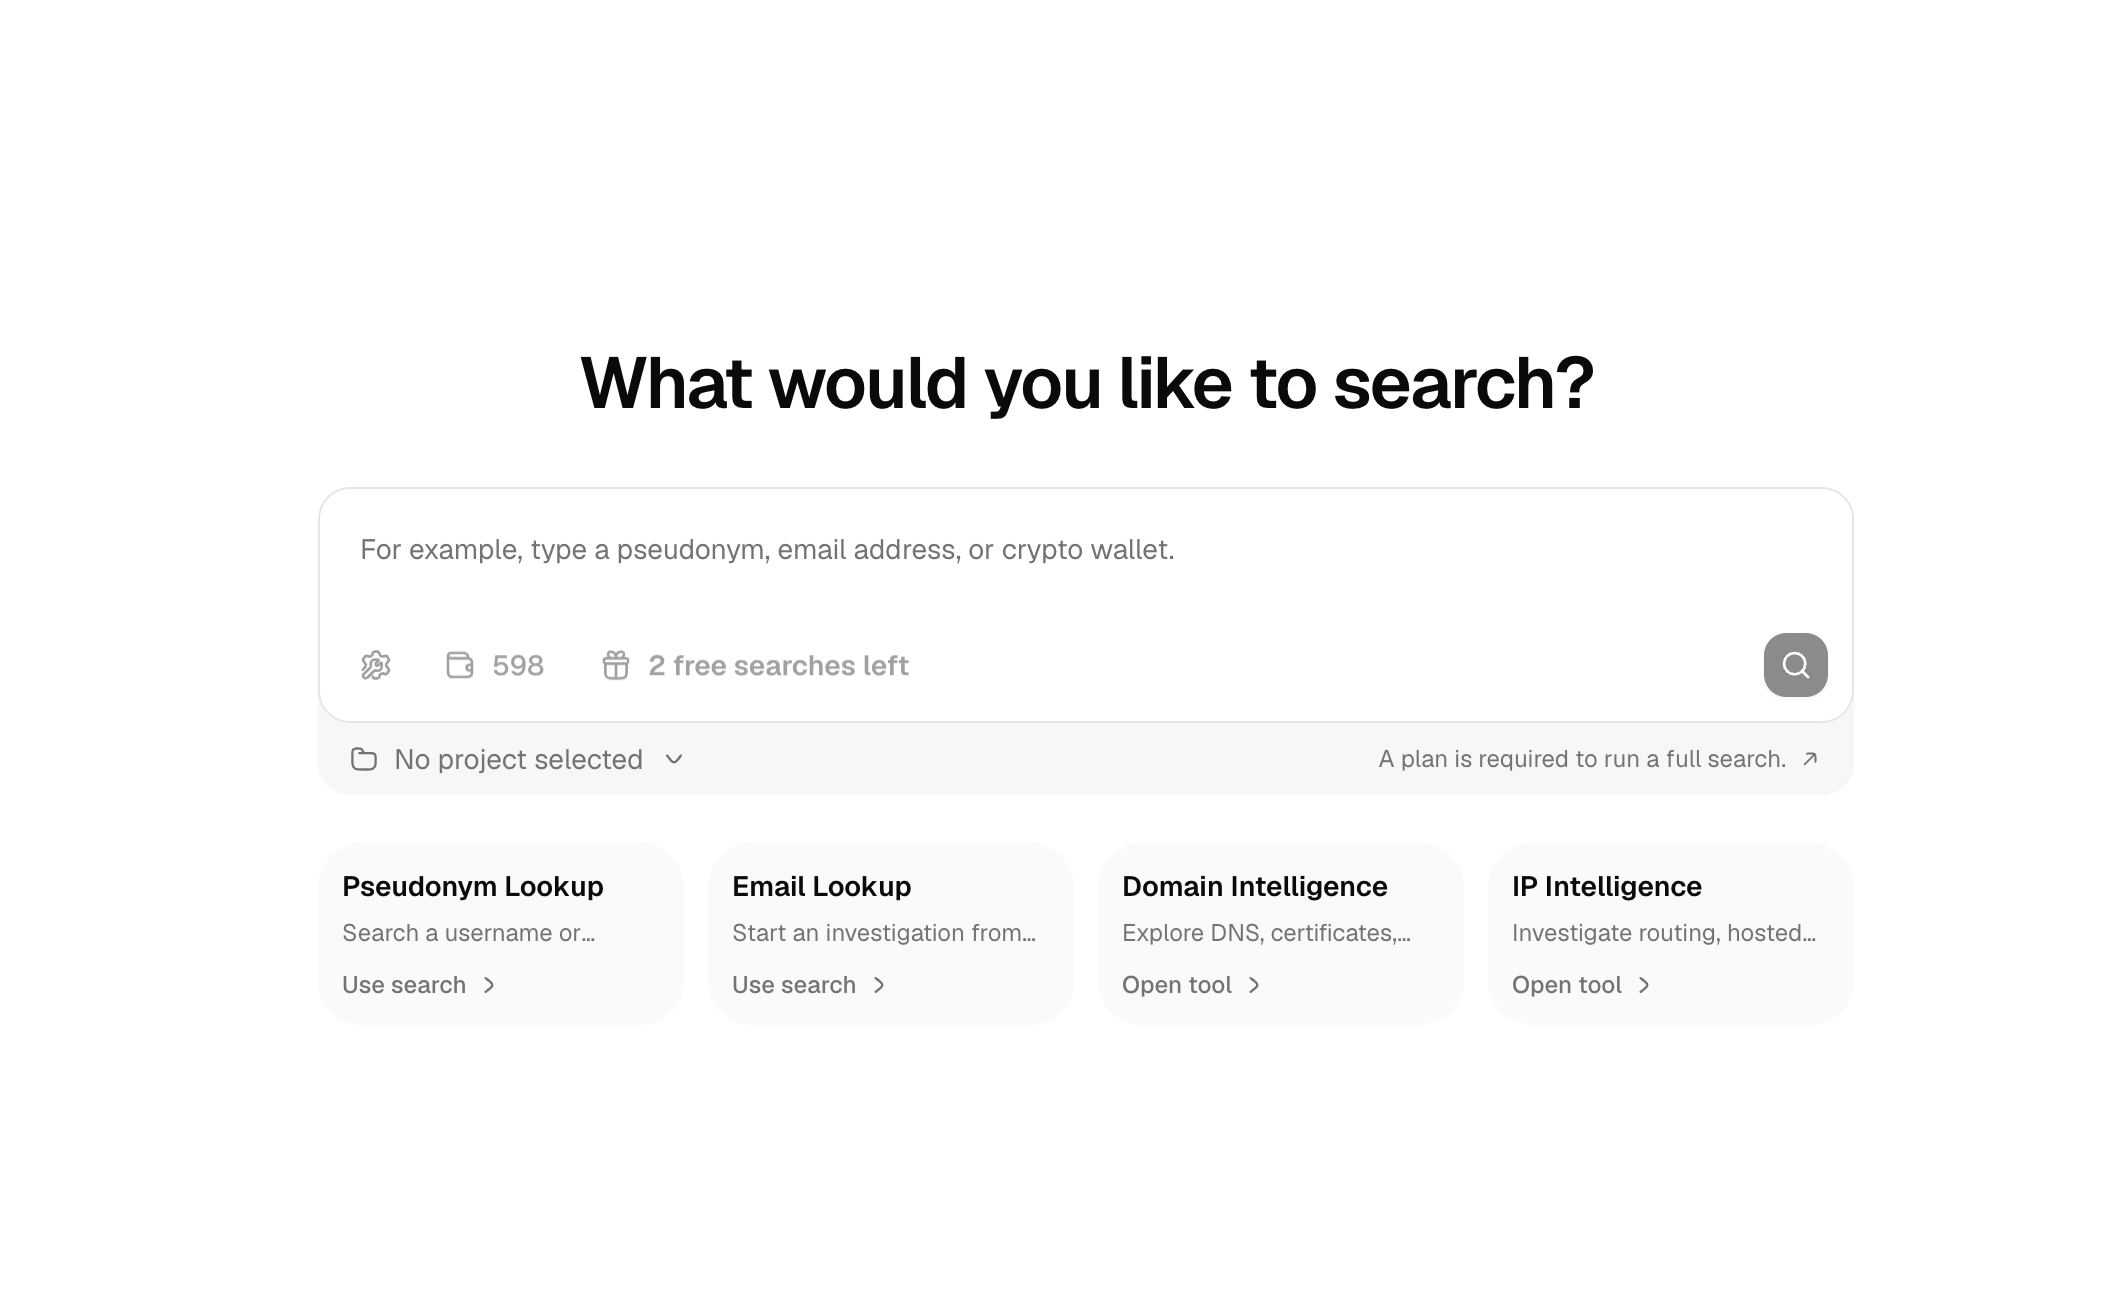
Run a limited free OSINT search for a username or email on Osintly. Learn what the preview shows, how quotas work, and when to run a full search.

Articles
Share investigations, results, credits, and alerts with your team. See how Osintly organizations handle access, SSO, exports, billing, and research capacity.
Articles
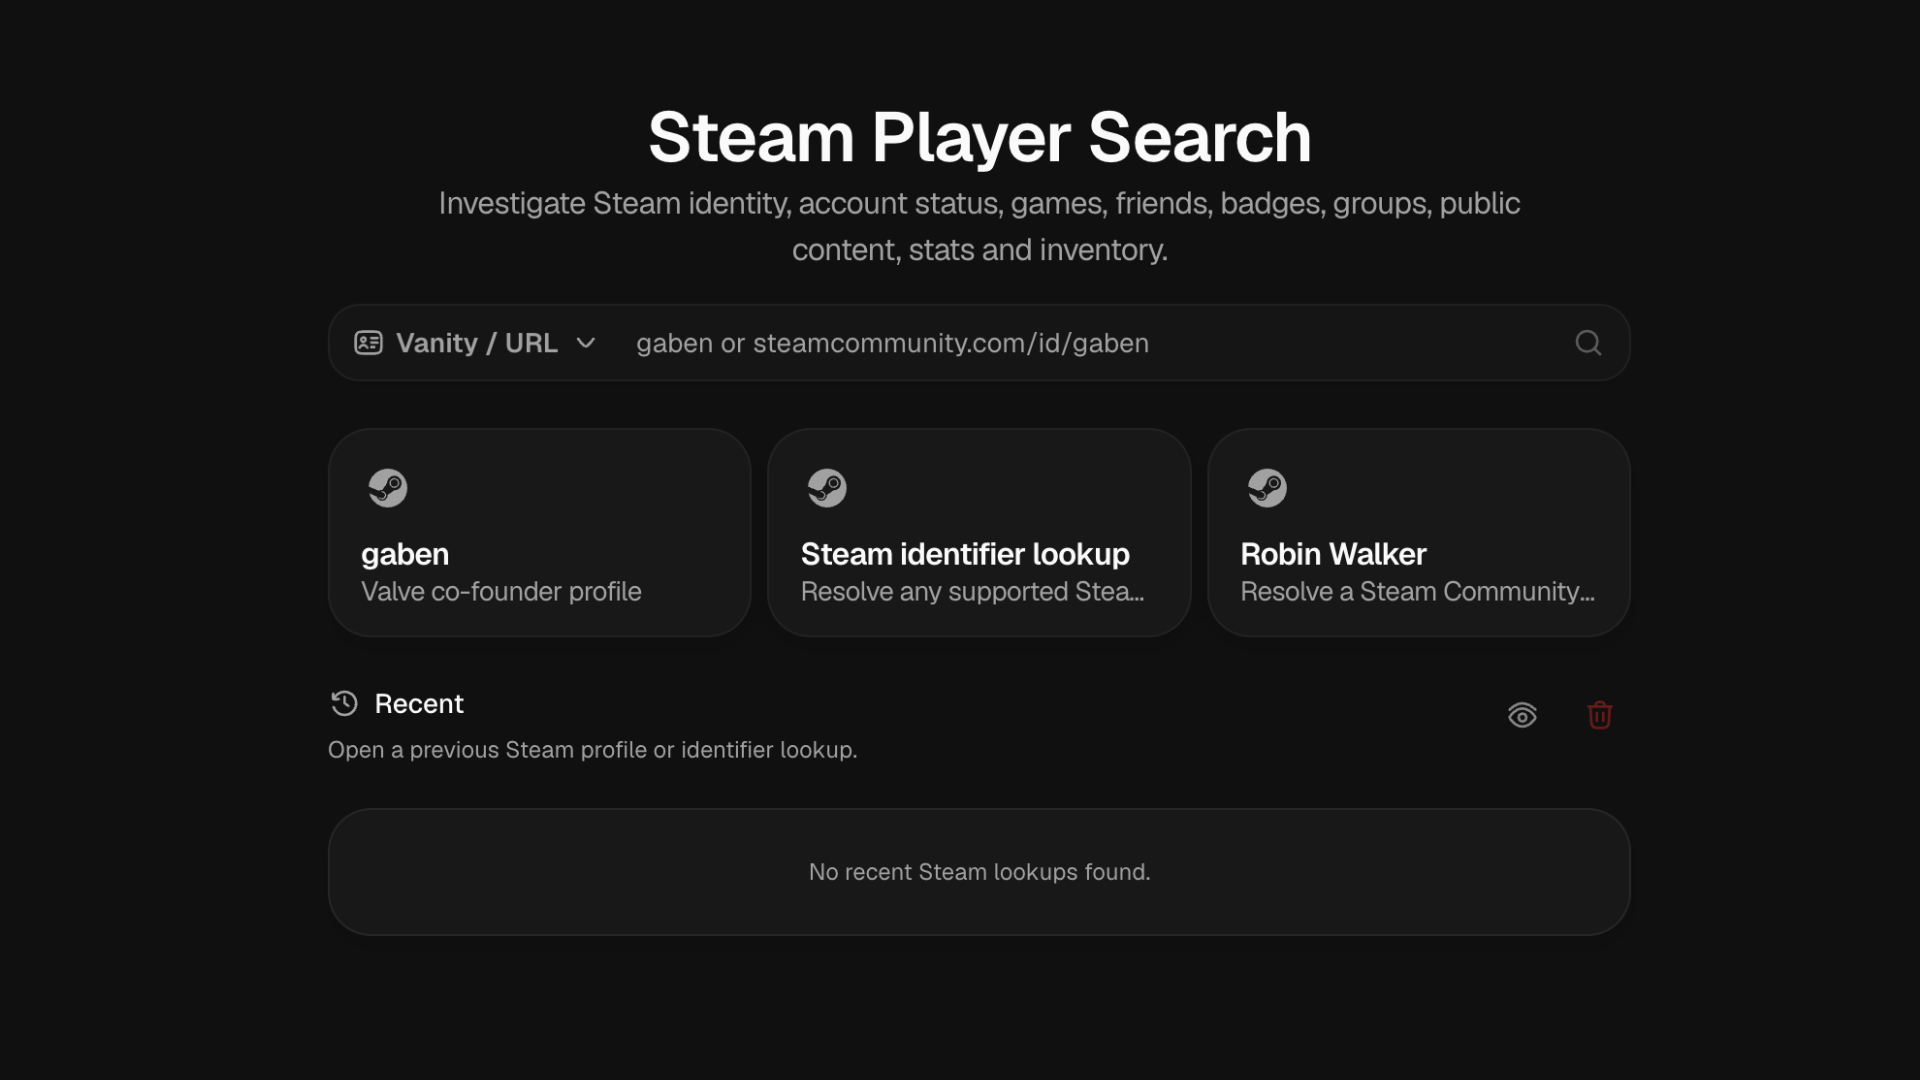
Investigate public Steam profiles, games, friends, bans, groups, badges, stats, content, and inventory through a hosted tool and API.
1,550+ ready-to-use OSINT modules covering people, companies, domains, emails, and more.
Everything you need to integrate Osintly into your workflow, from quick start to advanced APIs.
Connect with thousands of OSINT investigators. Share techniques, ask questions, collaborate.
Tutorials, case studies, and insights from our team of open source intelligence specialists.
1,550+ OSINT modules. AI analyst built-in. Real-time data. Everything you need in one place.