Articles
Why use Osintly for your OSINT team?
Share investigations, results, credits, and alerts with your team. See how Osintly organizations handle access, SSO, exports, billing, and research capacity.
By OsintlyRead
Osintly organizations give a research team one shared workspace for searches, tools, investigations, history, credits, and API activity. This guide follows the setup shown in our short walkthrough, from creating an organization to using it with a team.
The video takes about three minutes. It follows a demo workspace named Acme through plan selection, billing, member management, single sign-on, shared research, History, and API access.
@video: Osintly organization workspace walkthrough
Open the workspace menu in Osintly and choose the option to create a new organization. Give the organization a name, then continue to plan selection.
Osintly shows the available organization plans and the shared monthly credits included for each paid seat. Choose the plan that fits the team, select the number of seats, and review the monthly total before moving to payment. Volume discounts are applied automatically when they are available.
The checkout also collects the billing details needed for the subscription, including the billing address and optional company tax information. Prices and plan limits can change, so use the pricing page as the current reference rather than relying on figures shown in the video.
After payment is confirmed, Osintly opens the new organization workspace. The Overview page shows the active plan, available seats, shared credits, recent history, and current usage in one place.
The Members page lists everyone with access to the organization, along with their role, status, and join date. Owners can invite teammates and see how many paid seats are in use before adding more people.
Organization roles keep administrative access separate from day-to-day research. Owners and admins can manage the workspace, while members can work with the shared research available to them. The members and permissions guide explains the current role boundaries in detail.
For teams that use a company identity provider, the Single sign-on page supports Microsoft Entra, Google Workspace, Okta, and other SAML providers. Osintly provides the Entity ID, ACS URL, and metadata URL needed during configuration. Membership or a valid invitation is still required before a user can enter the organization through SSO.
Once the organization is selected, new searches and saved Tool results belong to that workspace. The walkthrough runs a pseudonym search, opens the result cards, and then checks an IP address with IP Intelligence.
This workspace context matters. Shared work stays available to authorized organization members instead of being stored in one person's Personal workspace. You can move between Personal and organization workspaces from the sidebar, so check the selected workspace before starting a search or Tool lookup.
Saved Tool results retain the returned data for later review. In the walkthrough, the IP Intelligence result can also be exported as a complete JSON archive. Source availability still applies, and passive network observations should be treated as investigation leads rather than proof of current exposure.
History brings the organization's searches and saved Tool activity into one view. Each row shows the searched value, result type, creator, and date, making it easier to find earlier work without running the same lookup again.
Members with access can reopen shared results. Authorized roles can also export complete organization results when they need a portable record. The export and sharing guide covers the available export formats and permission rules.
The API & Access area is scoped to the selected organization. It contains organization API keys, usage information, rate-limit details, and API billing records. This keeps team integrations and their usage separate from a member's Personal workspace or another organization.
Create keys only for the systems that need them, store each key securely, and rotate it when access changes. App subscriptions and API subscriptions are managed separately, so review the API plan before moving a production integration into the workspace. The API authentication guide explains how to use bearer keys safely.
Use an organization when research, credits, results, and administration need to be shared across a team. Personal work remains separate, and switching workspaces changes where the next action is recorded.
Read the organizations guide for the full workspace model, or open Osintly pricing to compare the available organization plans before creating one.
Articles
Share investigations, results, credits, and alerts with your team. See how Osintly organizations handle access, SSO, exports, billing, and research capacity.
Articles
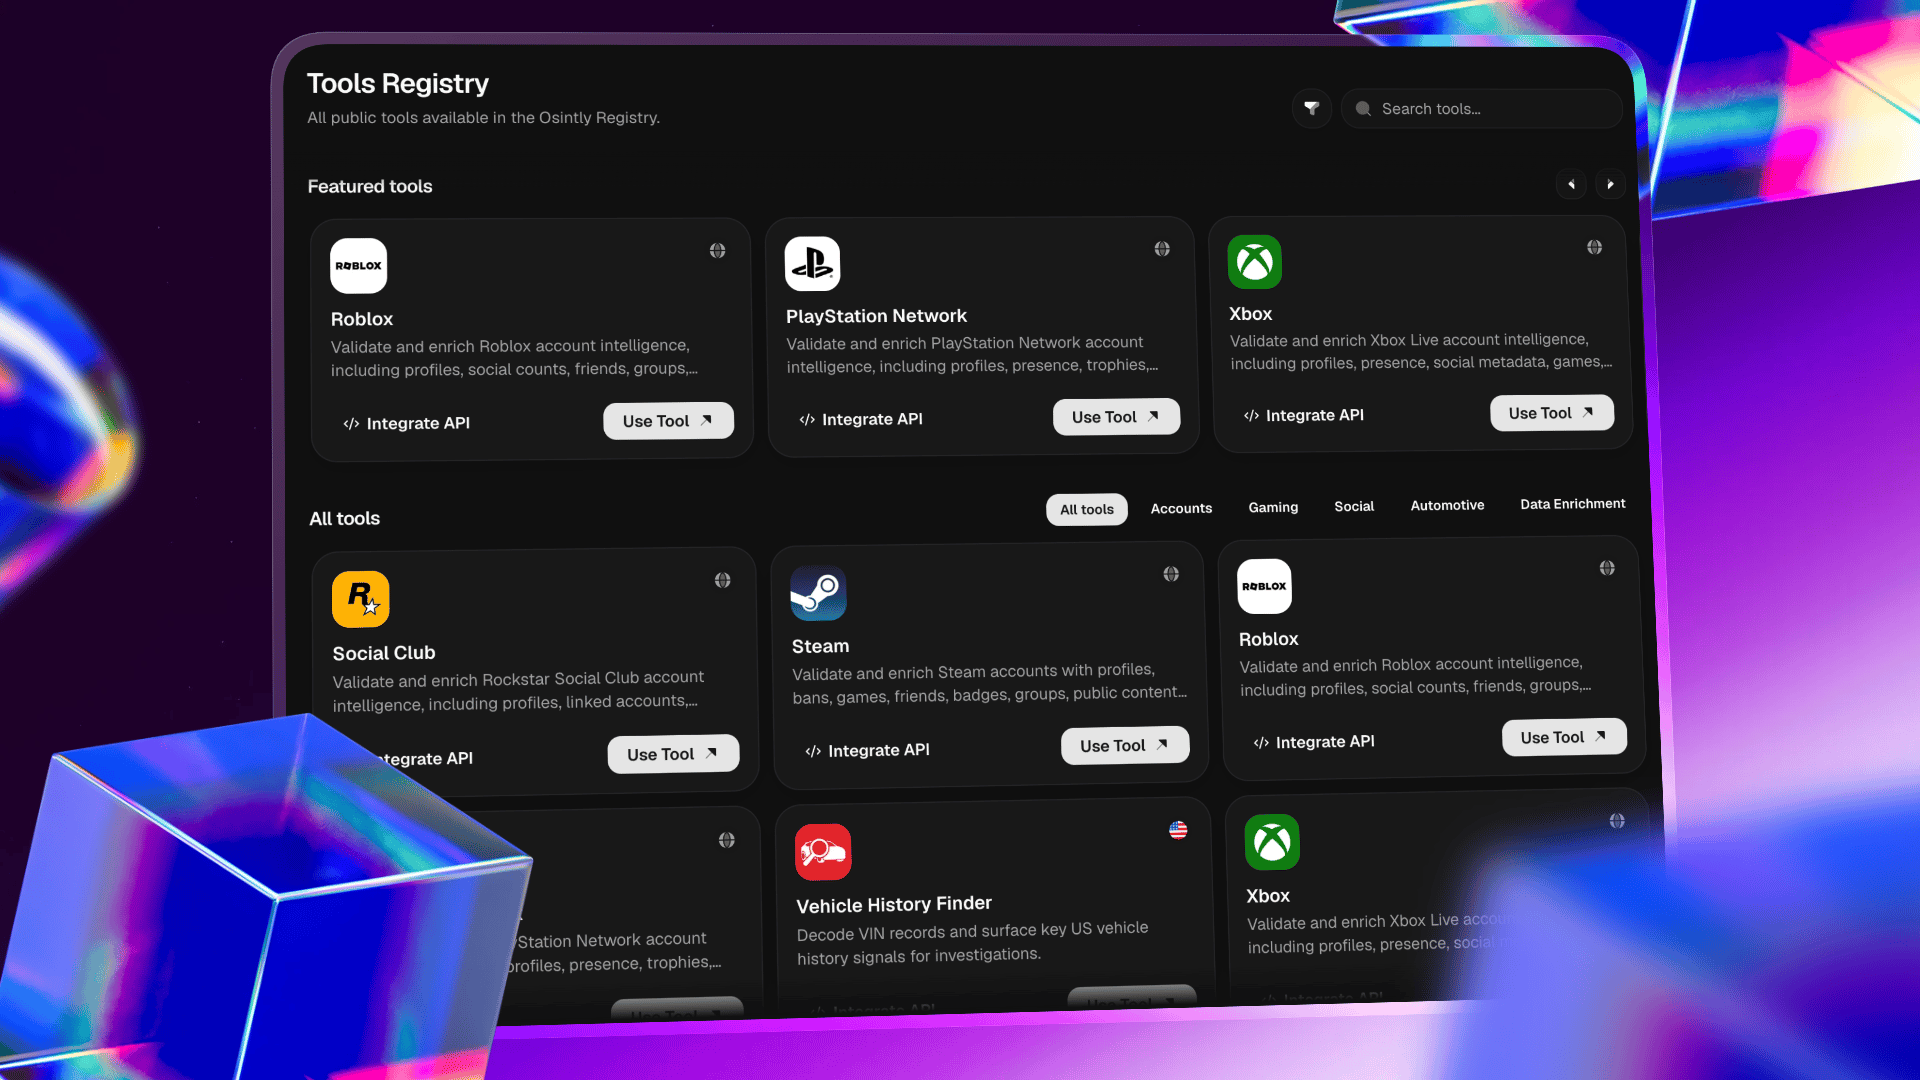
Run focused OSINT enrichment through one documented API, with hosted demos, predictable costs, and deep Epic Games account intelligence.
Articles
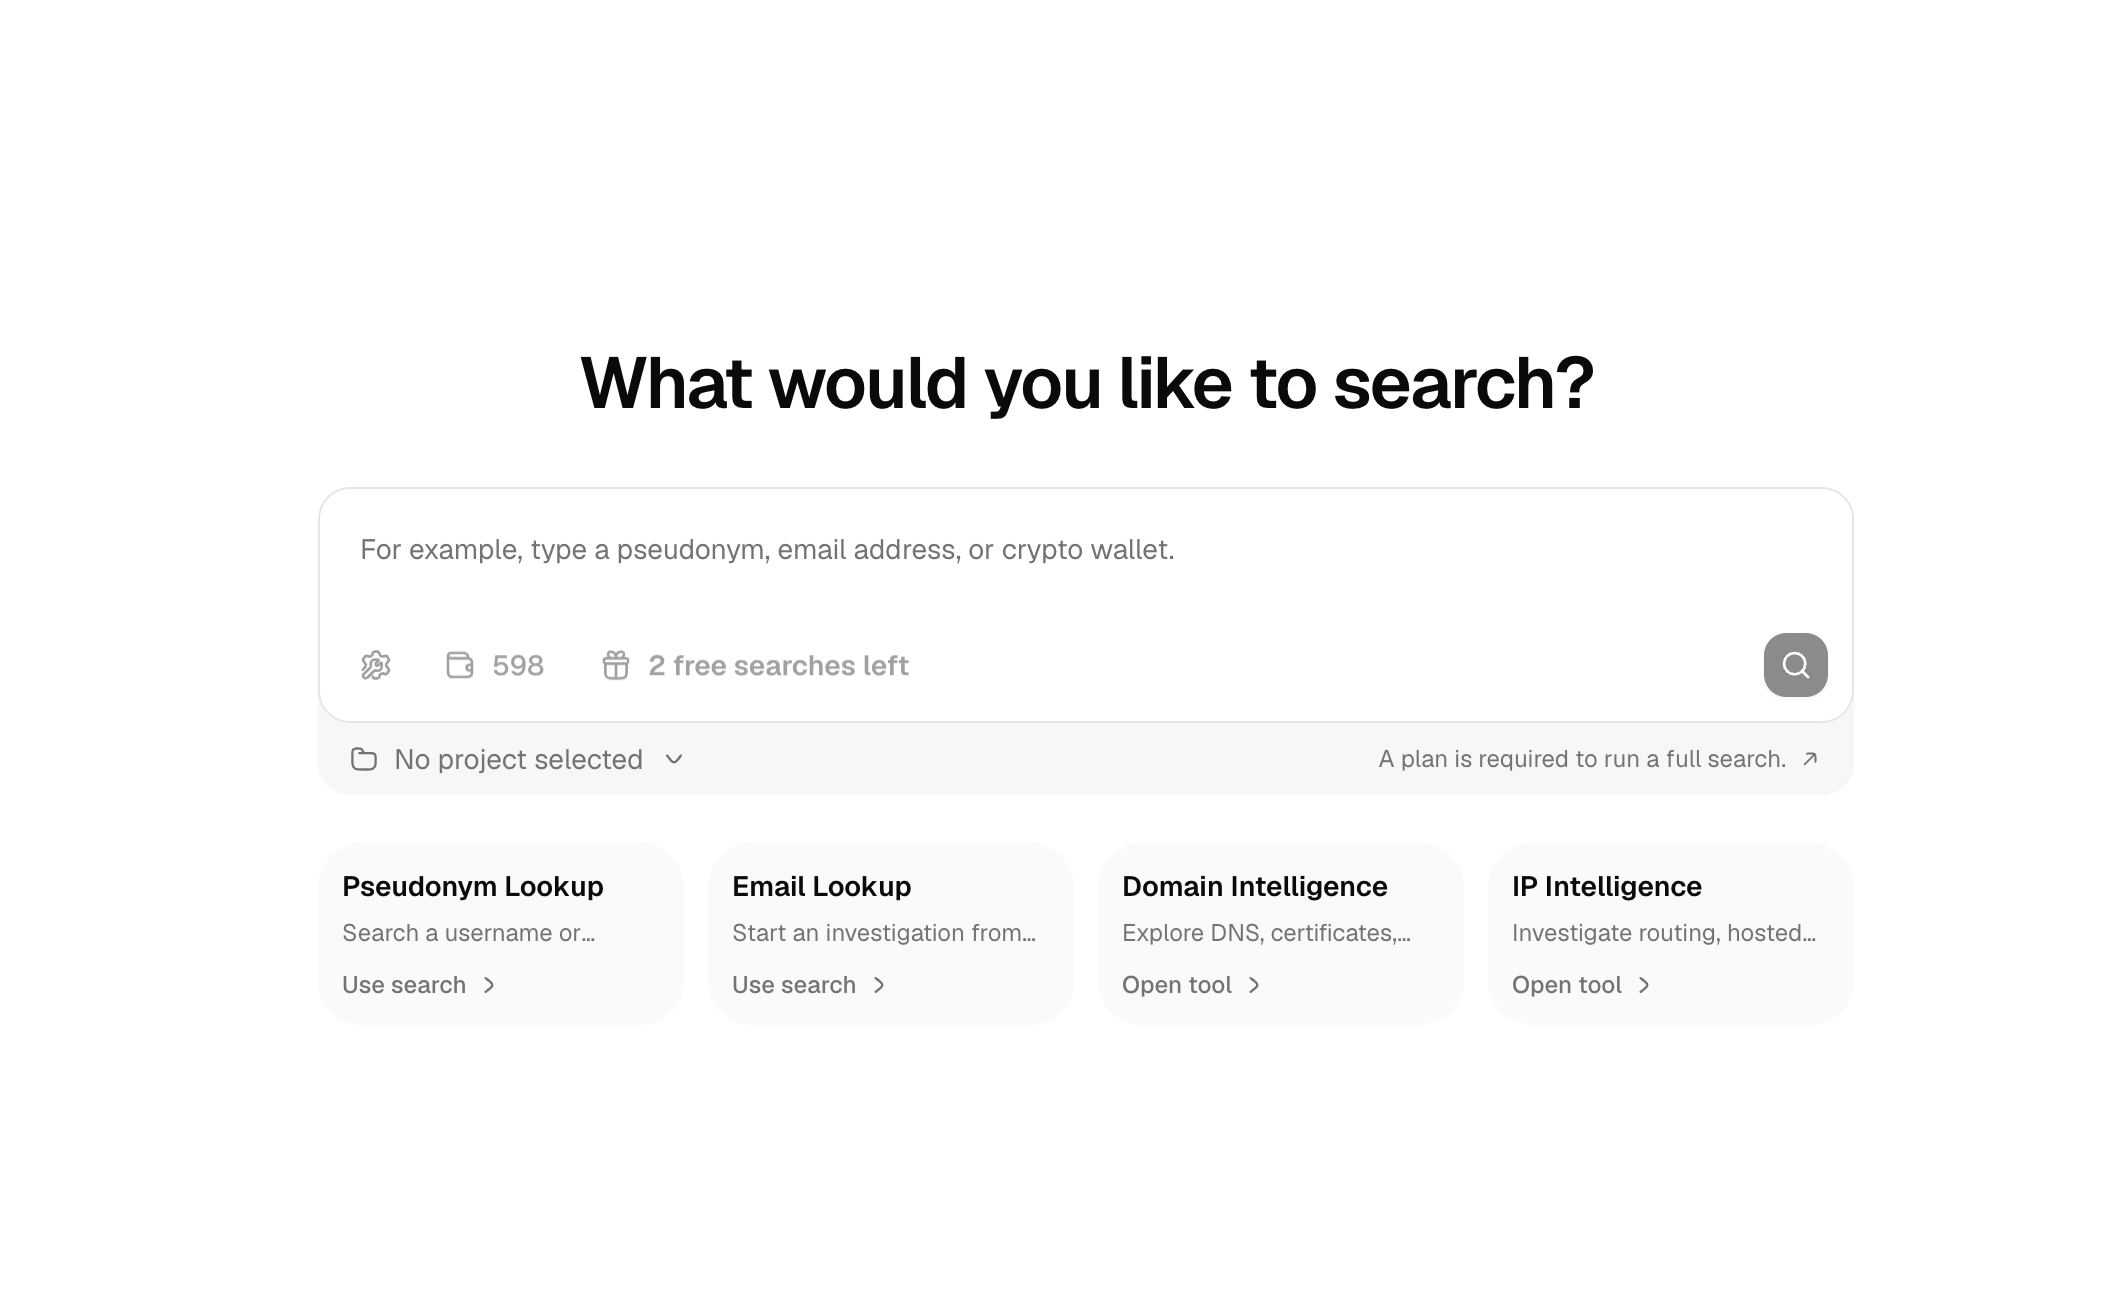
Run a limited free OSINT search for a username or email on Osintly. Learn what the preview shows, how quotas work, and when to run a full search.

Articles
Learn how Osintly handles search history, data retention, deletion, AI processing, privacy, and responsible OSINT use.Add a short description for the public blog card and search results.
1,550+ ready-to-use OSINT modules covering people, companies, domains, emails, and more.
Everything you need to integrate Osintly into your workflow, from quick start to advanced APIs.
Connect with thousands of OSINT investigators. Share techniques, ask questions, collaborate.
Tutorials, case studies, and insights from our team of open source intelligence specialists.
1,550+ OSINT modules. AI analyst built-in. Real-time data. Everything you need in one place.